Effective Ways to Revive Your Sourdough Starter in 2025: Achieve Perfect Results!
Sourdough starters are fundamental to creating delicious loaves of bread. Whether you’re a seasoned baker or a newcomer, understanding how to care for and revive your sourdough starter is vital for successful baking. In 2025, reviving a sourdough starter involves not only feeding it properly but also adapting to new methods and conditions. This article will provide essential tips for effective sourdough starter maintenance, so you can enjoy fresh and flavorful bread.
By following these practices, you’ll learn the signs of a healthy sourdough starter, the right feeding ratios, and troubleshooting methods for common issues. We’ll cover everything from the basics of sourdough starter care to nuanced methods for revitalizing an old or dry starter. Let’s explore the journey of achieving the perfect sourdough starter together!

Essential Techniques to Revive Your Sourdough Starter
Reviving a sourdough starter is essential, especially if you’ve neglected it or if it’s been in the fridge for too long. Rejuvenating your starter can be achieved through various methods, depending on its current condition. One of the most crucial first steps is to assess the texture and bubbles in your sourdough starter. If your starter appears too thick or lacks activity, it may need immediate attention.
Understanding Your Sourdough Starter Condition
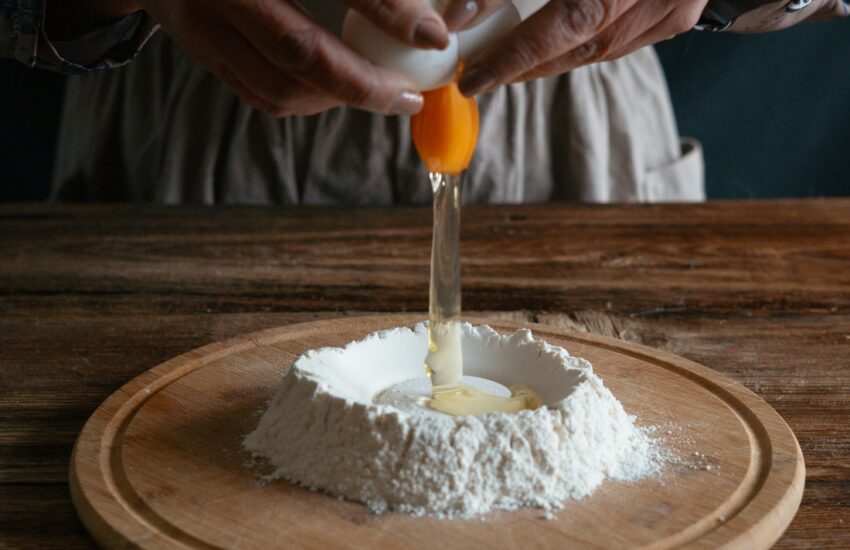
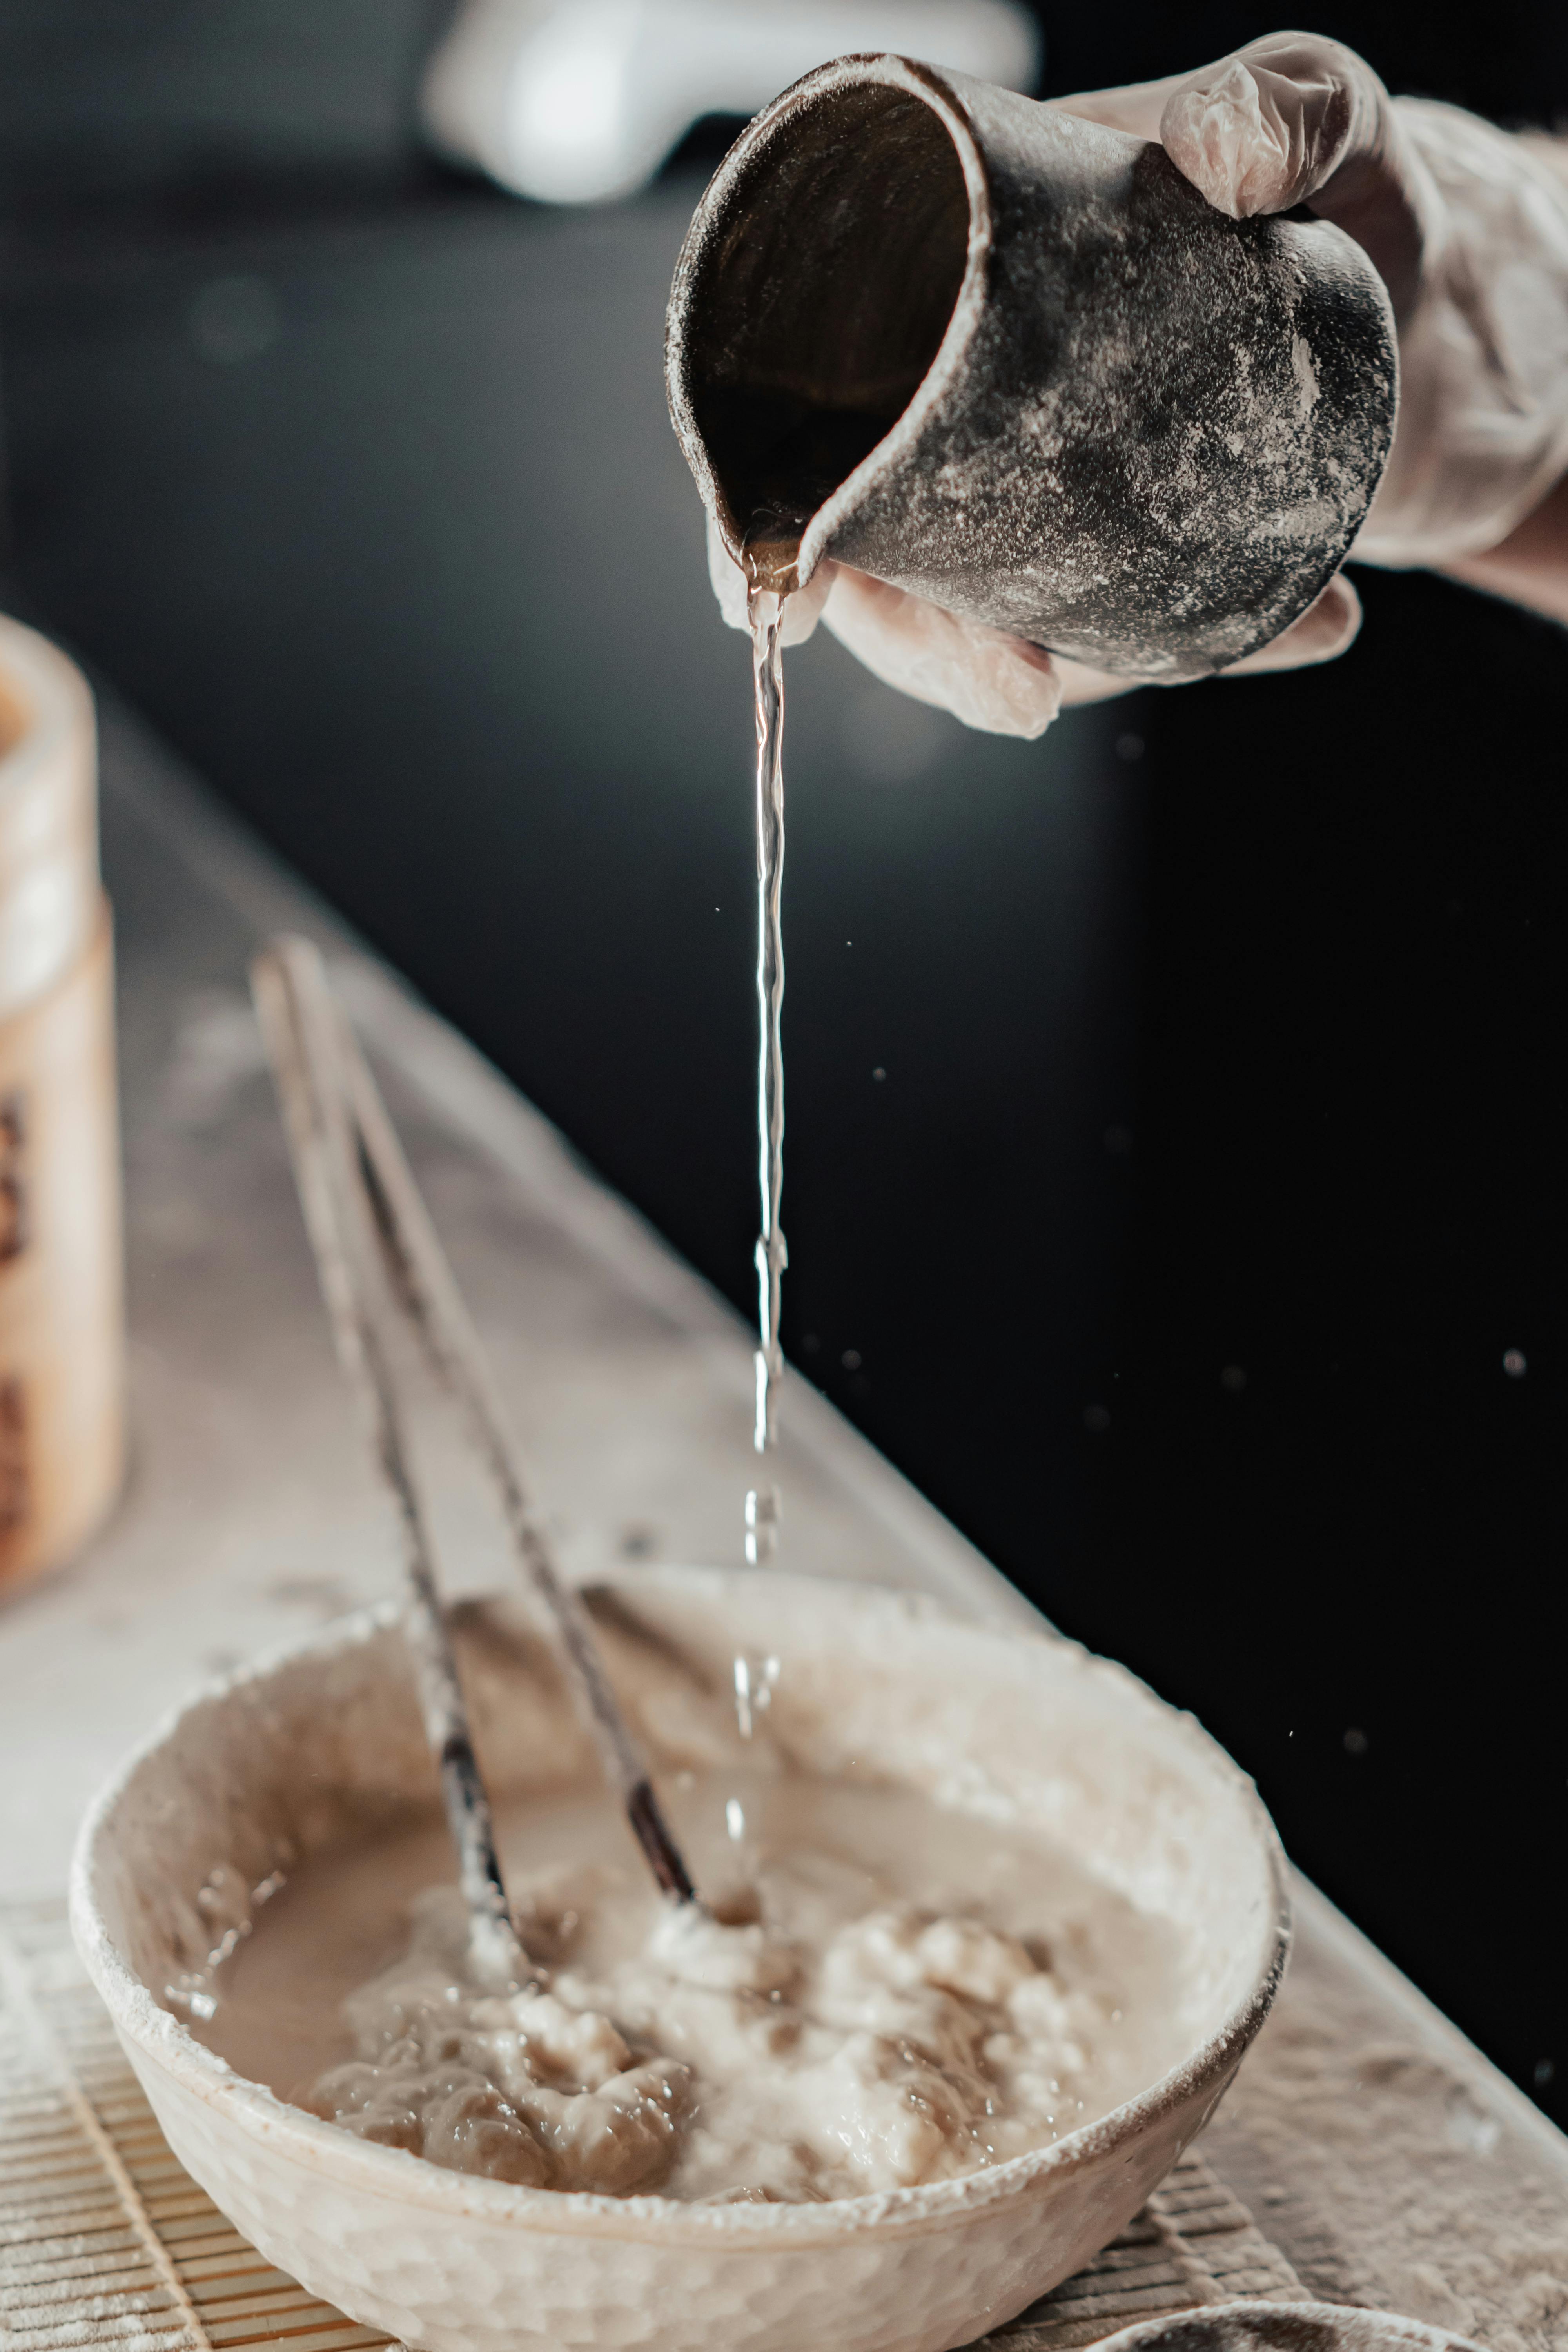
The first step in reviving your sourdough starter is to observe its condition. Is it dry? Does it have a layer of liquid on top? These signs can indicate whether the starter is resting, dormant, or requires reviving. For dry starters, immerse them in a warm water bath to hydrate the cultures effectively. A healthy sourdough starter will show bubbles and have a pleasant smell, indicating that it is still viable.
Feeding Sourdough Starters: The Basics
A typical feeding ratio for a sourdough starter is 1:1:1, which means equal parts starter, flour, and water. However, adjusting these ratios based on the starter’s activity can enhance its vitality. For instance, a more active starter can thrive on a 1:2:2 ratio. When reactivating your sourdough starter, using a mix of water and flour with high protein content can boost its ability to develop flavor and strength.
Adapting Your Sourdough Feeding Schedule
Establishing a feeding schedule is vital for maintaining sourdough starter health. Typical sourdough feeding times include every 12 hours when at room temperature or once a week if kept in the refrigerator. During the feeding, ensure to adjust the amount based on your baking needs. If you’re planning to bake frequently, more regular feedings will help maintain an active sourdough starter.
Common Mistakes in Sourdough Starter Revival
Many bakers encounter pitfalls when reviving their sourdough starters. One common mistake is using the wrong type of flour. Whole grain flours are more nutritious and provide a richer microbial ecosystem for the starter. Also, neglecting the ambient temperature can hamper the fermentation process. Sourdough starters thrive at temperatures around 75-78°F (24-26°C). Always ensure your starter is in an environment conducive to growth.
Signs of a Healthy Sourdough Starter
How can you judge whether your sourdough starter is ready for baking? Look for vibrant bubbles and a pleasant tangy aroma. The texture should be thick but pourable. If your starter rises and falls predictably after feeding, this consistency indicates active yeast and bacteria. Taking these indicators into account will help you understand whether your starter is fit for a successful bake.
Having explored effective ways to revive your sourdough starter, let’s delve into practical strategies for keeping your sourdough starter healthy and active over time.
Practical Strategies for Sourdough Starter Care
Long-term care of your sourdough starter is just as important as its revival. Consistent maintenance will ensure that your starter continues to perform well, providing exceptional flavor for all your baking ventures. In this section, we’ll outline methods and best practices for optimal sourdough starter care.
Enriching Your Sourdough Starter
To enrich your sourdough starter, consider incorporating various flours. Experimenting with whole wheat or rye flour can enhance the flavor profile and texture of your starter. Additionally, mixing in small amounts of bran or other whole grains can add unique characteristics to your breads while promoting a vibrant sourdough ecosystem.
Understanding Sourdough Starter Hydration Levels
Hydration is a critical element of sourdough starter maintenance. A hydration level around 100% means equal parts water and flour by weight, resulting in a thicker starter. Adjusting hydration levels will affect the bubbles in sourdough starter and its overall rise. Evaluate your baking requirements and taste preferences to determine the ideal hydration for your starter.
Keeping Your Sourdough Active
To keep your sourdough starter active, consider interacting with it regularly. Feed it consistently and maintain a nurturing environment. For bakers on a busy schedule, consider drying portions of your starter as a backup or storing it in the refrigerator while maintaining regular feeding schedules. This guarantees you always have a vibrant sourdough starter ready for use.
Identifying and Troubleshooting Common Sourdough Issues
Understanding common issues with sourdough starter is essential for effective maintenance. Problems can include a lack of bubbles, unpleasant odors, or separation of liquid. To address these, ensure your starter is fed correctly and at consistent intervals. If you notice stale or off smells, consider refreshing it with a few feedings using a higher proportion of fresh flour and water.
Safe Storage Techniques for Sourdough Starter
If you cannot bake regularly, proper storage is key. Refrigeration slows down the fermentation process, allowing for less frequent feedings. For long-term storage, consider freezing your starter. Ensure it’s properly sealed in an airtight container for increased longevity. When you’re ready to use it again, allow it to thaw and follow the revival steps previously discussed.
Exploring Sourdough Starter Revival Methods
Reviving a sourdough starter can take different forms, depending on your specific goals. Here we highlight various revival methods that can help restore your starter, whether it’s dry, neglected, or merely in need of rejuvenation.
Reviving Dry Sourdough Starter
A dry sourdough starter can be revived by adding water gradually. Start by mixing the dry starter with equal parts water and flour, and allow it to sit covered for 30 minutes to begin rehydration. Following that, continue feeding regularly until active bubbles and pleasant aromas reappear.
Reactivate Sourdough Starter Without Flour
If you find yourself running low on flour, you can still reactivate your sourdough starter using water and a small amount of sugar or honey. This creates an environment conducive to fermentation until you’re able to feed again with flour. Monitor the starter closely to ensure positive development.
Adjusting Your Sourdough Feeding Ratios
Feeding ratios may need to be adjusted depending on your sourdough starter’s current health and the conditions it’s in. When your starter is sluggish, increase the flour portion relative to water and the starter. This change builds strength and bite in the final product.
Enhancing Your Starter’s Flavor
Incorporate ingredients such as malty flour or a touch of honey during feedings to elevate the flavor of your sourdough starter. By enriching your starter, you can diversify the flavor profile of your bread, resulting in unique and engaging baking experiences.
Common Pitfalls to Avoid
When attempting to revive or maintain a sourdough starter, avoid over-feeding or under-feeding. Both situations can lead to imbalances that negatively affect your sourdough starter activity. Additionally, safeguard against temperature fluctuations that could impair fermentation, ensuring that your starter is kept in an ideal environment.
Now that we’ve covered various methods for reviving your sourdough starter, let’s address some frequently asked questions about sourdough starter maintenance.
Q&A: Sourdough Starter Maintenance and Revival
How often should I feed my sourdough starter?
The frequency of feeding varies based on the storage method. If kept at room temperature, feeding every 12 hours is ideal. For a starter in the refrigerator, once a week is suitable. Adjust these based on how actively you bake.
What signs indicate my starter is ready for baking?
Your starter is ready if it doubles in size within 4-6 hours after feeding, has a pleasant smell, and showcases bubbles. The texture should be thick and pourable.
Can I use all-purpose flour for my sourdough starter?
While all-purpose flour can be used, whole grain flours like whole wheat or rye flour tend to yield better flavor and activity. These flours have more nutrients that feed the starter’s microorganisms.
How do I troubleshoot my sourdough starter?
If your starter isn’t bubbling or rising, increase its feeding frequency, ensure the food is of good quality, and monitor its environment for optimal warmth.
What do I do if my starter develops an off smell?
An off smell may indicate bacterial contamination. If the smell persists, refresh your starter with fresh flour and water over several feedings to try to restore a healthy balance.
With the right strategies for sourdough starter revival and maintenance, you can enjoy delightful baked goods that showcase the unique flavors of your starter. Explore more about keeping your starter healthy, visit this link for detailed guidance, or for troubleshooting and other topics, check here.